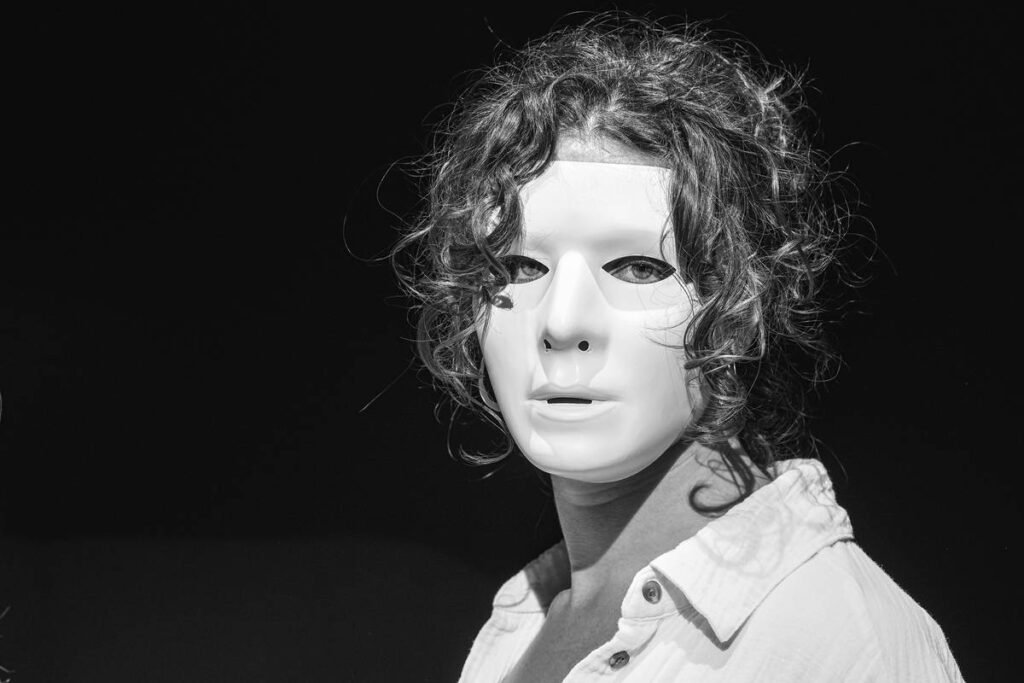
Ever stared at a werewolf in Pan’s Labyrinth and thought, “There’s no way that’s just paint”? Spoiler: it’s not. That jaw-dropping realism? That’s prosthetic makeup—and it’s equal parts artistry, anatomy, and adhesive science. Yet most beginners drown in liquid latex tutorials that leave them sticky, frustrated, and smelling like a chemistry lab on fire.
This post cuts through the fluff. Drawing from 8 years as a SFX makeup artist on indie horror sets—and one disastrous zombie wedding photoshoot gone *very* wrong—you’ll learn exactly how prosthetic makeup works, why it beats regular face paint for realism, and how to apply it without peeling off your eyebrows by accident. We’ll cover:
- What makes prosthetic makeup different (and worth the effort)
- A step-by-step guide to applying foam latex pieces like a pro
- Common mistakes that ruin the illusion (and how to avoid them)
- Real-world examples from film and cosplay
Table of Contents
- Why Prosthetic Makeup Isn’t Just “Fancy Face Paint”
- How to Apply Prosthetic Makeup: A Step-by-Step Guide
- 5 Pro Tips That Separate Amateurs from Pros
- Real Examples: From Indie Films to Comic-Con
- FAQs About Prosthetic Makeup
Key Takeaways
- Prosthetic makeup uses pre-sculpted pieces (foam latex, silicone, gelatin) to create 3D effects impossible with paint alone.
- Adhesion is everything: improper glue = lifted edges = broken illusion.
- Skin prep and color matching are non-negotiable for seamless blending.
- Film-grade materials (like Telesis 5 or Pros-Aide) outperform drugstore alternatives for durability and realism.
- Beginners should start with small pieces (scars, wounds) before attempting full-face appliances.
Why Prosthetic Makeup Isn’t Just “Fancy Face Paint”
“Can’t I just use Halloween store putty?” — said every first-timer before their elf ears slid into their soup. Here’s the brutal truth: prosthetic makeup isn’t cosmetic—it’s structural. While regular makeup lives on the skin’s surface, prosthetics extend it, adding depth, texture, and volume that light and shadow interact with naturally.
According to the Make-Up Artists and Hair Stylists Guild, over 70% of creature effects in modern film rely on physical prosthetics—even with CGI available—because nothing sells weight, texture, and movement like real material moving with an actor’s face (Make-Up Artists Guild, 2023).
I learned this the hard way at a midnight screening premiere where my self-made troll nose detached mid-bow. The audience laughed—not in a “wow, amazing effect!” way, but in a “your nostril’s waving goodbye” way. Turns out, spirit gum + hot stage lights = disaster.
How to Apply Prosthetic Makeup: A Step-by-Step Guide
Forget TikTok hacks using toothpaste as adhesive (yes, someone tried that). Real prosthetic application follows a precise workflow. Here’s the industry method—tested on sets from Atlanta to Prague:
Step 1: Skin Prep Is Non-Negotiable
Cleanse and degrease the area with 99% isopropyl alcohol. Oily skin = poor adhesion. Then, apply a thin layer of medical-grade barrier spray if you have sensitive skin (like Ben Nye Final Seal).
Step 2: Trim and Test-Fit the Piece
Gently trim excess flashing (the thin rim around foam latex) with curved scissors. Hold it against the skin—does it sit flush? If it gaps, you’ll need more adhesive… or better sculpting next time.
Step 3: Apply Adhesive Strategically
Use a brush to apply Pros-Aide or Telesis 5 only to the *edges* of the piece—never flood the center. Let it get tacky (30–60 seconds). Press firmly from center outward to eliminate air pockets.
Grumpy You: “Ugh, fine—but only if coffee’s involved.”
Optimist You: “This technique keeps your orc brow in place through sweat, tears, and awkward fan selfies!”
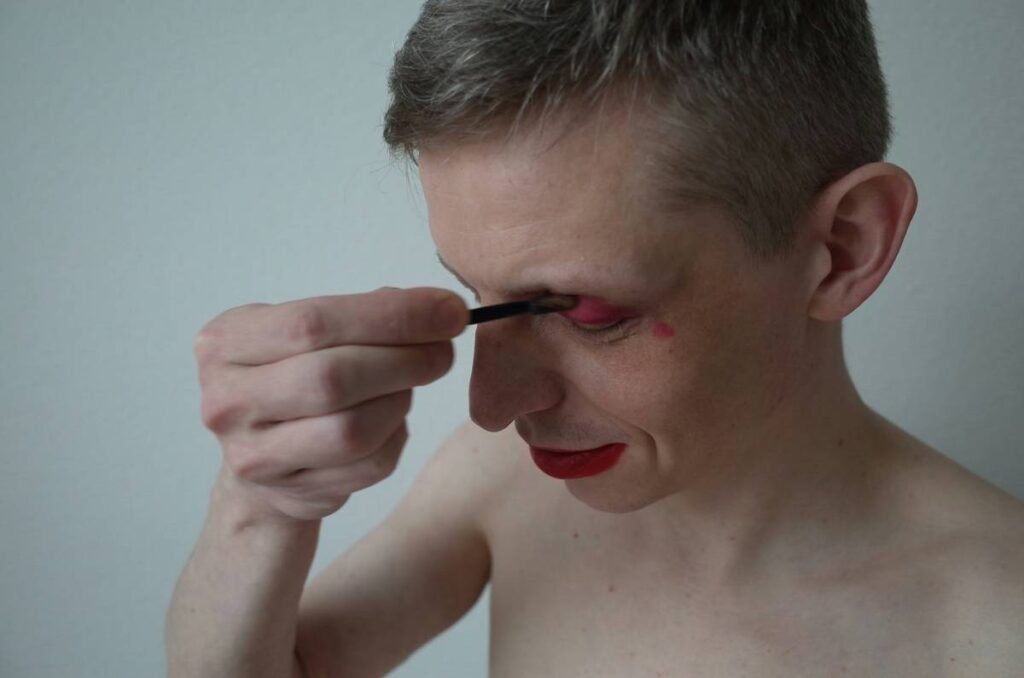
Step 4: Blend Like Your Reputation Depends On It (It Does)
Use a stipple sponge with cream foundation or rubber mask greasepaint to feather the edge. Match not just your skin tone, but your undertone (ashy vs. golden). Miss this, and your alien forehead looks pasted-on—because it literally is.
Step 5: Seal and Set
Spritz with Mehron Barrier Spray or Ben Nye Liquid Latex (thinned 50/50 with water) to lock everything down. Powder lightly if needed—but too much kills translucency.
5 Pro Tips That Separate Amateurs from Pros
- Start small: Master a 2-inch scar before tackling a full facial appliance. Complexity scales fast.
- Color layering > single shade: Real skin has redness, blue veins, yellow undertones. Stack thin layers of PAX paints or Graftobian RMG.
- Heat helps: Use a warm (not hot!) hair dryer to soften foam latex during fitting—it becomes more pliable.
- Carry a “repair kit”: Mini bottle of adhesive, cotton swabs, alcohol wipe, and matching powder for emergencies.
- Ditch the glitter: Unless you’re doing ethereal fae magic, glitter screams “costume,” not “creature.”
Terrible Tip Alert: “Use Elmer’s glue to stick on your fake wounds.” NO. Just… no. It’s acidic, won’t hold, and can cause chemical burns. Stick to cosmetic-grade adhesives approved by the FDA for skin contact.
Real Examples: From Indie Films to Comic-Con
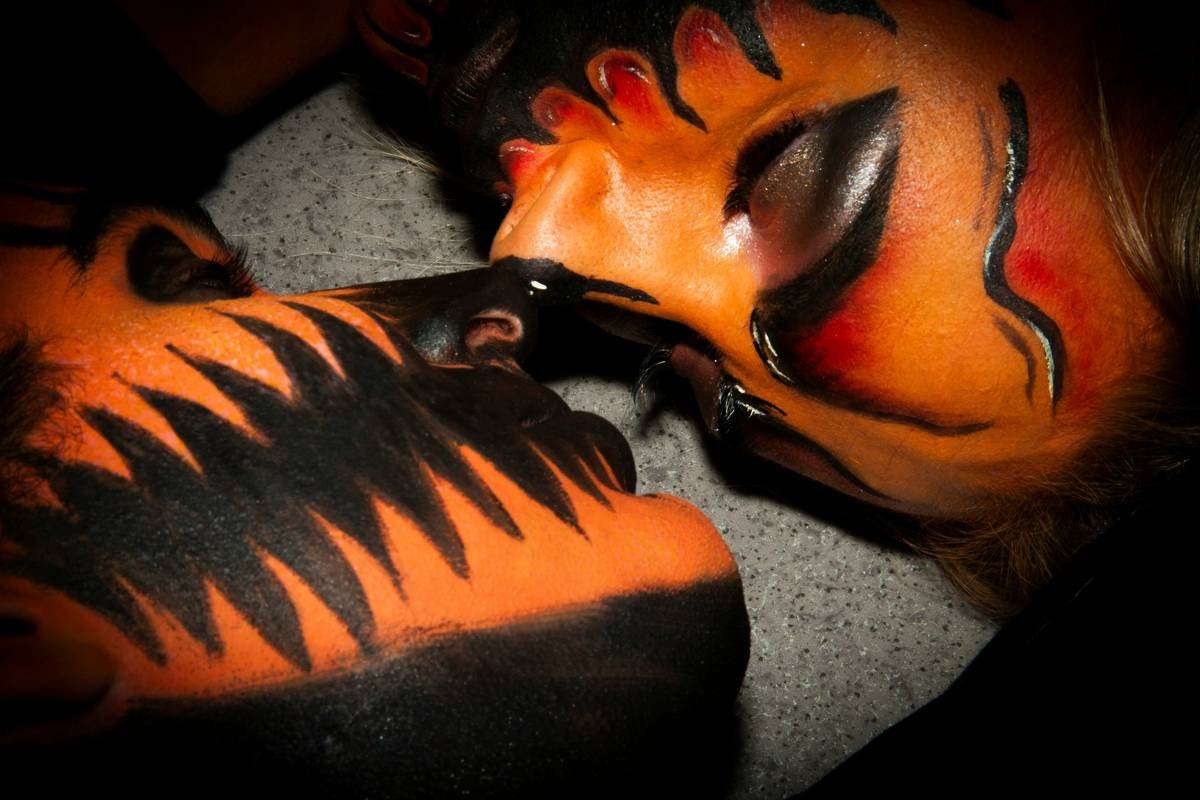
In 2022, indie horror short “The Hollow Vein” used custom foam latex cheek ridges to transform its lead into a fungal-infected revenant. Applied with Telesis 5 and painted with Skin Illustrator alcohol-activated pigments, the prosthetics held for 14-hour shoots under humid Georgia conditions—with zero lifting.
Meanwhile, at San Diego Comic-Con 2023, cosplayer @NecroNyx won Best in Show with a 100% practical Cenobite look—no Photoshop, no CGI. Their secret? Layering translucent silicone scars over foam latex bone structure, then airbrushing with Temptu Duraline paints for pore-level realism.
These aren’t flukes. They’re proof that physicality sells believability—something our brains register subconsciously, even if we don’t know why.
FAQs About Prosthetic Makeup
Is prosthetic makeup safe for sensitive skin?
Yes—if you use hypoallergenic, cosmetic-grade materials. Always patch-test adhesives 24 hours ahead. Avoid latex if you have allergies; opt for silicone or urethane gel instead.
How long does prosthetic makeup last?
Professionally applied pieces can last 8–12 hours under performance conditions. For all-day wear (like conventions), reseal edges with spray every 4 hours.
Can I reuse prosthetic pieces?
Foam latex: rarely (it degrades fast). Silicone: yes—clean with 70% alcohol, store flat in a dust-free container. Gelatin: single-use only.
What’s the cheapest way to start?
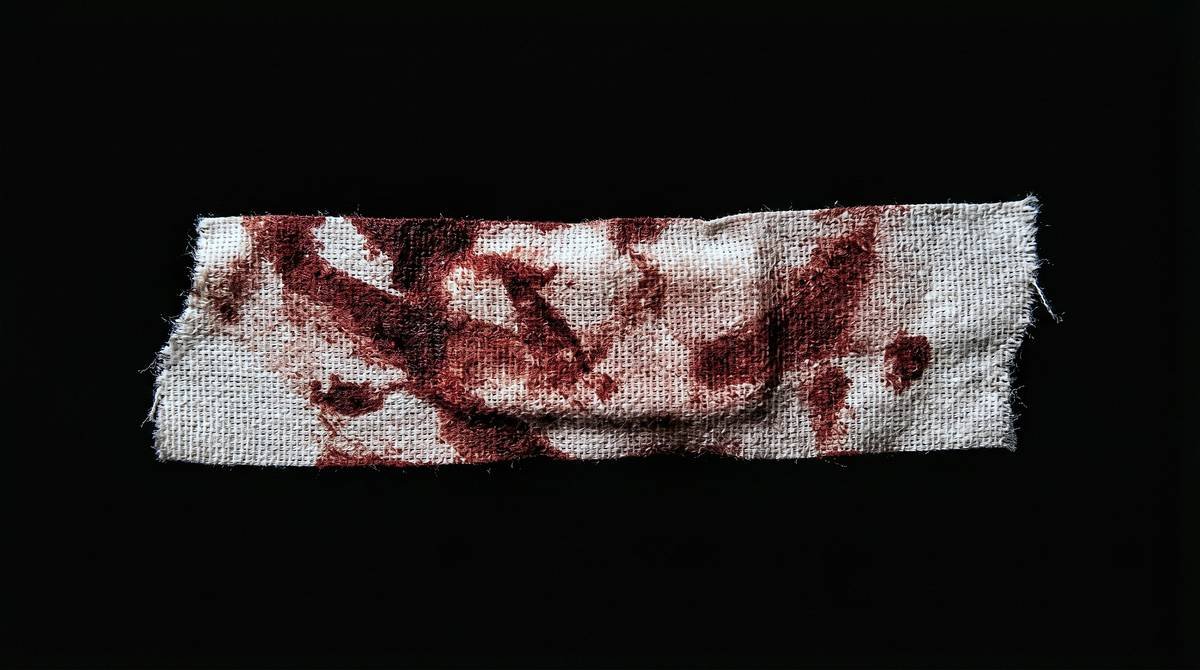
Begin with Kryolan’s Scar Wax or Mehron’s 3D Gelatin Wounds—under $15. These mimic prosthetics without needing adhesives or sculpting skills.
Do I need special lighting to make it look real?
No—but understanding light direction helps. Harsh overhead light exposes poorly blended edges. Soft, diffused lighting is your friend.
Conclusion
Prosthetic makeup isn’t about slapping on rubber and calling it a day. It’s a disciplined craft where patience, precision, and product knowledge converge to turn fantasy into flesh. Whether you’re crafting a demon for a music video or perfecting your Hellboy cosplay, remember: realism lives in the details—the subtle vein, the slightly uneven scar tissue, the way light catches a raised brow ridge.
Start small. Respect the adhesive. And never skip the blend. Because when done right, no one asks “Is that real?”—they just believe.
Like a Tamagotchi, your prosthetic needs daily care… and occasional existential panic when you forget to feed it.
Rubber meets skin,
Edges fade into the cheek—
Monster breathes true now.