You’ve spent hours on your costume—stitched seams, weathered fabric, perfect period accuracy. Then you add store-bought fake blood and a foam scar. And it looks… childish. Plastic. Fake. That disconnect kills immersion instantly. The good news? special effects makeup for gore doesn’t require a Hollywood budget—just smarter technique.
Why Most DIY Gore Makeup Fails Miserably
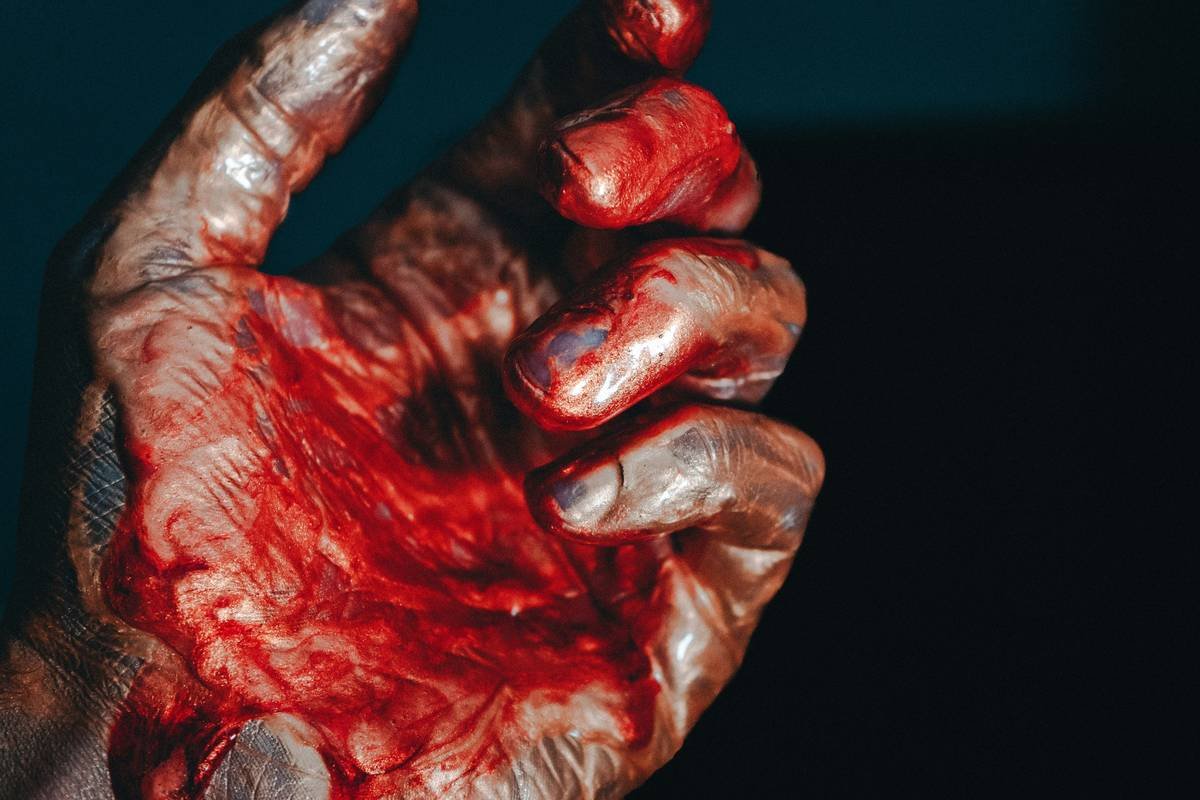
Latex scars peel by hour two. Store-bought gel wounds glisten like jelly, not torn flesh. And that “blood”? Often neon-red syrup that dries glossy under stage lights—nothing like real coagulated trauma.
Here’s the reality: amateur gore ignores texture, subsurface color, and movement. Skin isn’t smooth when lacerated—it’s uneven, swollen, sometimes bruised beneath. And it moves with the actor. Miss that, and your zombie looks like a kid who raided the Halloween aisle.
How to Build Believable Gore Step-by-Step
Forget one-product miracles. True gore is layered—like painting, but with more blood.
Gather Your Arsenal (The Minimum Viable Kit)
You don’t need 50 products. Start with:
- Scar wax or gelatin-based modeling putty
- Red, blue, purple, and brown cream pigments
- Mattifying powder
- Medical-grade fake blood (high viscosity)
- Synthetic tissue paper or cotton for depth
Layering Like a Pro: From Base to Bleed
Apply scar wax directly to clean skin. Sculpt torn edges—not symmetrical! Real wounds tear unevenly. Let it set slightly tacky.
Then stipple cream colors: deep red at the core, purple-blue at the periphery (mimicking bruising), and subtle yellow near healed edges. Use a dry sponge—no brushes. Brushes create smoothness. Gore isn’t smooth.
Set with translucent powder. Not a dusting—a light press. This kills shine without sealing in moisture that causes melting.
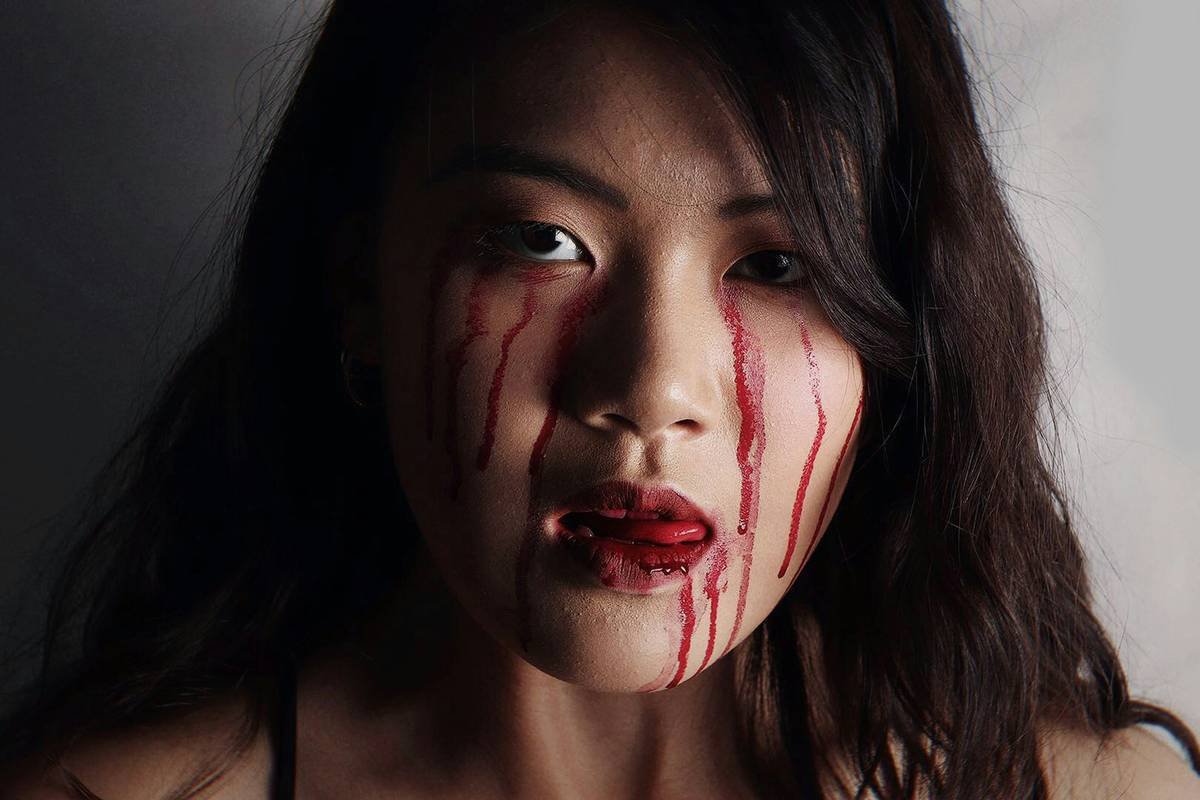
Finally, drip blood strategically. Not all over. Real bleeding follows gravity and pools in crevices. Add clotted strands using stretched cotton soaked in thick blood.
Cost vs. Effectiveness: What Actually Works?
| Method | Cost (USD) | Durability | Realism Score (1–10) |
|---|---|---|---|
| Pre-made Latex Scars | $5–$15 | Poor (peels, shiny) | 3 |
| DIY Gelatin + Cream Pigments | $20–$40 | Good (lasts 4–6 hrs) | 8 |
| Professional Silicone Appliances | $100+ | Excellent (8+ hrs, flexible) | 9.5 |
| Scar Wax + Tissue Layering | $25–$35 | Very Good (5–7 hrs) | 8.5 |
The Industry Secret No One Talks About: Gore Needs “Dead” Skin
Hollywood artists swear by this: real wounds don’t sit on top of skin—they disrupt it. So before applying any prosthetic, lightly exfoliate just the wound zone. Not to remove skin, but to kill surface sheen and create micro-roughness.
Better yet—dab a tiny amount of baking soda slurry (baking soda + water) on the area, let it dry, then dust off. It leaves a chalky, desiccated base that makes applied gore look sunken, not stuck-on. Try it. The difference is uncanny—and costs pennies.
Frequently Asked Questions
How long does homemade gore makeup last?
With proper setting and non-oily skin prep, scar wax or gelatin builds last 5–7 hours. Avoid sweating or rubbing—gore is fragile by design.
Can I use food coloring for fake blood?
Avoid it. Food coloring stains skin permanently and lacks viscosity. Use glycerin-based theatrical blood—it flows like real plasma and washes off cleanly.
Is special effects makeup for gore safe for sensitive skin?
Always patch-test 24 hours prior. Use medical-grade adhesives and hypoallergenic pigments. Never use craft glue or industrial materials—skin absorption is real.