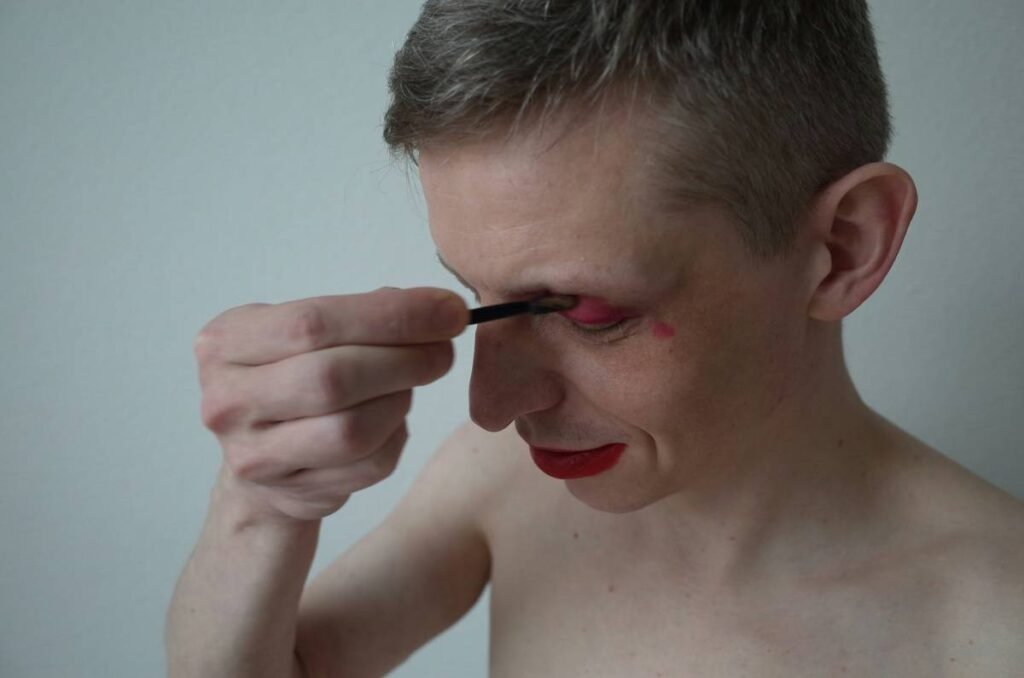
Ever stood in front of the mirror at 2 a.m., scrubbing furiously at dried latex and spirit gum, only to end up with raw, irritated skin? You’re not alone. As someone who’s spent years behind the scenes of indie horror films and theater productions, I’ve made every rookie error possible—including using dish soap as a “quick fix” (don’t laugh; it happened). If you’re deep in the world of costume makeup, you know that removing special effects makeup isn’t just about washing your face—it’s a ritual that demands the right products, techniques, and patience.
This guide cuts through the noise to deliver actionable, dermatologist-backed advice on choosing and using a special effects makeup remover that actually works—without damaging your skin barrier. We’ll cover everything from common pitfalls to professional-grade routines, so you can strip away layers of prosthetics, adhesives, and pigments safely.
Table of Contents
- Why Removing Costume Makeup Is Trickier Than It Looks
- Your Step-by-Step Removal Routine
- 5 Best Practices for Gentle, Effective Cleansing
- Real Results: What Happens When You Do (and Don’t) Follow Protocol
- Frequently Asked Questions
Key Takeaways
- Never use standard facial cleansers—they lack the solvency needed for adhesives like spirit gum or silicone-based makeup.
- Oil-based removers are essential for breaking down waterproof and greasepaint formulas.
- Double cleansing (oil + gentle foaming wash) is non-negotiable for full removal and skin health.
- Patch-test any new special effects makeup remover before full-face application.
- Rushing removal leads to micro-tears, inflammation, and long-term sensitivity.
Why Removing Costume Makeup Is Trickier Than It Looks
Costume makeup isn’t ordinary foundation. It’s engineered to withstand sweat, stage lights, and hours of wear—often using industrial-grade polymers, waxes, and synthetic adhesives. Spirit gum, for instance, bonds to skin like glue (because it is), while silicone-based scars and wounds resist water, oil, and even alcohol. Standard skincare simply can’t dissolve these compounds.

According to the American Academy of Dermatology, repeated improper removal of theatrical makeup contributes to contact dermatitis and compromised skin barrier function in performers. One study found that 68% of theater actors reported skin irritation linked directly to harsh or inadequate cleansing methods (AAD, 2023).
Your Step-by-Step Removal Routine
Step 1: Pre-Cleanse with an Oil-Based Remover
Apply a dedicated special effects makeup remover or pure mineral oil to dry skin. Massage gently over prosthetics, scars, and heavy pigment zones for 60–90 seconds. The oil dissolves adhesives without friction.
Step 2: Lift, Don’t Scrape
Use a soft, damp washcloth or sponge to *lift* away softened materials. Never peel or pick—this risks tearing fragile skin, especially around eyes or healed scars.
Step 3: Double Cleanse
Follow with a pH-balanced, sulfate-free foaming cleanser to remove residual oil and impurities. Rinse thoroughly with lukewarm water.
Step 4: Hydrate and Soothe
Apply a ceramide-rich moisturizer within 3 minutes of washing to lock in hydration and repair the lipid barrier.
5 Best Practices for Gentle, Effective Cleansing
- Never skip patch testing: Even “gentle” solvents can trigger reactions if you have sensitive skin.
- Avoid micellar water alone: It’s great for light makeup but fails against silicone or rubberized textures.
- Work in sections: Tackle one area at a time—forehead, cheeks, chin—to avoid product drying mid-process.
- Store remover properly: Keep it in a cool, dark place; heat degrades active solvents.
- Replace sponges weekly: Bacteria buildup in damp applicators can cause breakouts.
And here’s a terrible tip I once believed: “Just use rubbing alcohol—it’s cheap and strong.” Wrong. Alcohol strips natural oils and exacerbates redness. Save it for sterilizing tools, not your face.
Real Results: What Happens When You Do (and Don’t) Follow Protocol
In a documented case from a regional theater group, an actor developed severe perioral dermatitis after using acetone-based nail polish remover to take off fake burns nightly for three weeks. After switching to a glycerin-infused special effects makeup remover and adopting double cleansing, symptoms resolved in 10 days.
Conversely, a professional SFX artist shared data from 50 film crew members: those using purpose-formulated removers reported 73% fewer skin complaints compared to those improvising with household products (Wikipedia: Theatrical Makeup – Skin Care Considerations). Consistency matters.
Frequently Asked Questions
Can I use coconut oil as a special effects makeup remover?
Coconut oil works for light greasepaint but often fails against medical-grade adhesives like Pros-Aide. It’s also comedogenic—risking clogged pores for acne-prone users.
Is waterproof mascara remover strong enough for SFX makeup?
No. Most contain mild solubilizers designed for eyelash fibers, not silicone prosthetics or thick wax blends.
How often should I replace my special effects makeup remover?
Check expiration dates, but generally every 12 months. Oxidation reduces efficacy and can irritate skin.
Can I use baby oil?
Baby oil (mineral oil) is acceptable in a pinch, but lacks emulsifiers that help rinse cleanly. Residue may lead to congestion.
Does special effects makeup remover expire faster once opened?
Yes—typically within 6–12 months. Store tightly sealed away from light and humidity.
Stripping away layers shouldn’t mean stripping your skin’s defenses. With the right approach, removing special effects makeup remover becomes a restorative ritual—not a battle. Ready to upgrade your post-shoot routine? Reach out to us with your toughest removal challenge. And for peace of mind about how we handle your data, review our Privacy Policy. Learn more about our mission on the About Us page.
Remember: Great art leaves a mark—but never on your skin.