You need believable scars—fast. But that drugstore gel you slapped on? It looks like melted plastic under stage lights. And forget those pre-made prosthetics; they peel off by Act 2 and scream “amateur.” Here’s the hard truth: realism in special effects makeup for scars isn’t about fancy kits—it’s about texture, shadow, and deception.
Why Most DIY Scar Makeup Fails Spectacularly
Most tutorials treat skin like a flat canvas. It’s not. Skin moves, stretches, and reflects light unevenly. Slap on liquid latex without layering? You get a shiny, rubbery blob—not a healed laceration. Worse, many creators ignore subsurface scattering—the way light penetrates real tissue around a scar. Skip that nuance, and your wound reads “costume,” not “convincing.”
And timing matters. Apply too early? Sweat degrades adhesion. Too late? No time to blend edges. The result? A scar that floats unnaturally above the skin plane.
Step-by-Step Guide to Crafting Convincing Scars
Prep Like a Pro—Not a Hobbyist
Cleanse, degrease, and lightly abrade the area with a sterile gauze pad. Oily residue = instant failure. Apply a thin layer of medical-grade adhesive (like Telesis 5) only if using prosthetics. For direct-applied scars, skip glue—build texture straight on skin.
Build Dimension With Household Hacks
You don’t need $200 silicone. Mix corn syrup, flour, and a drop of green food coloring (to neutralize redness) into a paste. Dab it with a stipple sponge to mimic collagen buildup. Let it dry tacky—then seal with alcohol-activated paint. 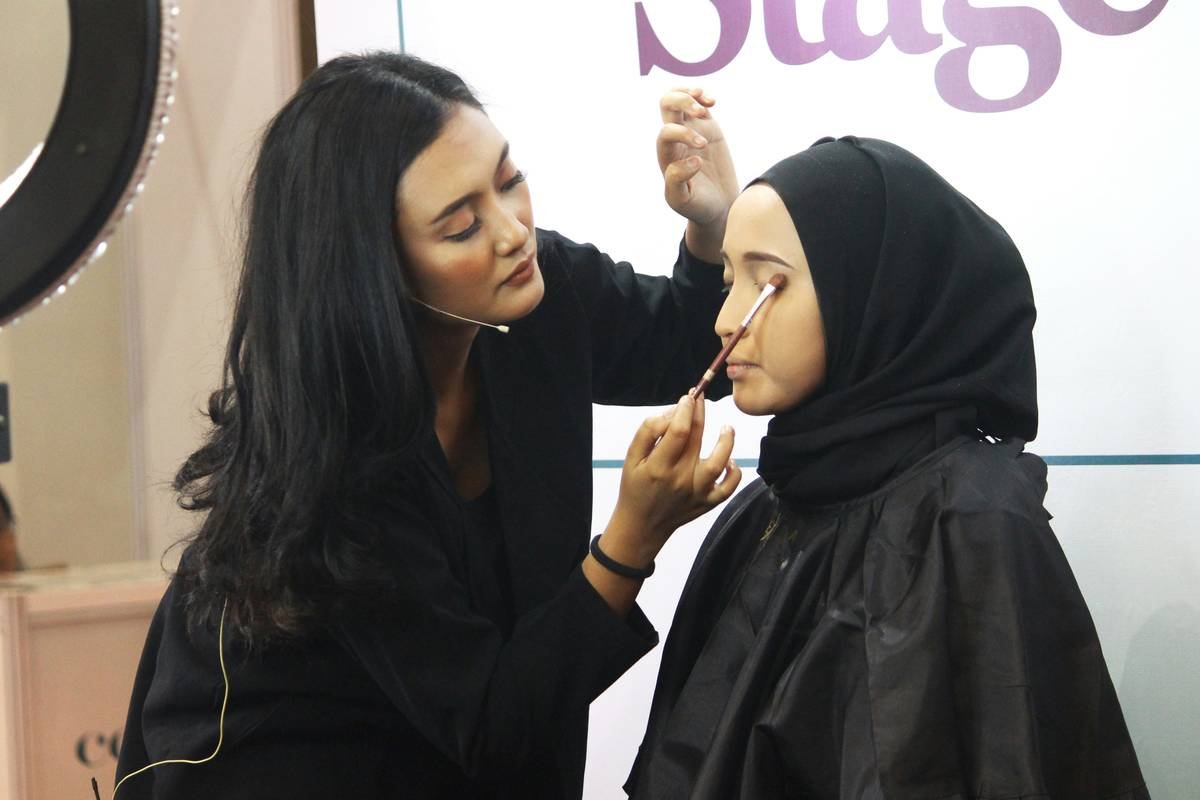
Color and Shadow: Where Realism Lives
Scars aren’t just red or pink. Mature scars go hypopigmented—almost white at the center, fading to normal skin tone. Use a triad: pale beige base, soft violet in shadows, and a whisper of yellow ochre along elevated ridges. Then—critical step—blur the outer 2mm into surrounding skin with a dry brush. No hard lines.
| Method | Cost | Durability | Realism Score (1-10) |
|---|---|---|---|
| Liquid Latex + Tissue | $5–$15 | 2–4 hours | 5 |
| Homemade Gel (corn syrup base) | $2–$8 | 3–5 hours | 7 |
| Medical-Grade Silicone Prosthetic | $30–$100+ | 8–12 hours | 9.5 |
| Wax + Powder Technique | $10–$20 | 1–2 hours | 4 |
The Industry Secret: Scars Tell Stories—Yours Should Too
Here’s what no tutorial admits: the best scars imply history. A knife wound from six months ago has different tension than a fresh burn. Study reference photos—not stock images, but real trauma cases from medical journals (yes, ethically sourced). Notice how keloids pull surrounding skin taut. See how old surgical scars sit slightly depressed.
Then—this is key—customize based on character backstory. Is your zombie’s scar from a bite? Layer subtle jagged edges with irregular pigment loss. Was it stitched sloppily? Add tiny ridge bumps mimicking poor suturing. That narrative detail? That’s what sells the illusion when the camera zooms in.
Frequently Asked Questions
How long does special effects makeup for scars last?
With proper prep and sealing, homemade versions last 3–5 hours. Medical silicone prosthetics can endure 8+ hours—even through sweat.
Can I use regular makeup for fake scars?
Not really. Foundation lacks dimension. You need buildable texture—liquid latex, gelatin, or wax—to create raised or sunken topography.
Is special effects makeup for scars safe for sensitive skin?
Always patch-test first. Avoid latex if allergic; opt for gelatin or silicone alternatives. Never leave adhesive on overnight.