You’ve watched the YouTube videos. Bought the gelatin, the latex, the fake blood by the gallon. Yet your zombie still looks like a Halloween party reject—not a flesh-eating nightmare ripped from a post-apocalyptic film set. That’s because 90% of online guides ignore what actually sells terror: texture hierarchy and light interaction. SFX makeup for zombies isn’t about slapping on scars—it’s about engineering decay that reads under camera or stage lights.
Why Your Zombie Always Looks “Costume-y”
Most beginners treat skin like a flat canvas. Big mistake. Real decomposition isn’t uniform—it’s layered, uneven, and reacts dynamically to light. Latex alone creates a rubbery sheen that screams “theater supply store.” And those pre-made prosthetics? They sit on top of the skin instead of becoming part of it. The result? A mask-like finish that breaks immersion the second someone tilts their head.
Here’s the reality: zombie realism lives in the valleys, not the peaks. Shadows sell rot far more than bright red wounds ever will.
How to Build Convincing SFX Makeup for Zombies (Step-by-Step)
Forget shortcuts. This method borrows from forensic reconstruction principles—yes, really—and prioritizes tactile depth over color chaos.
Step 1: Sculpt Depth Before Color
Use nose/scar wax or gelatin mixed with glycerin to build raised tissue—then carve *into* it with a blunt tool while semi-set. This mimics subcutaneous collapse, not surface scratches.
Step 2: Layer Pigments Like Rot
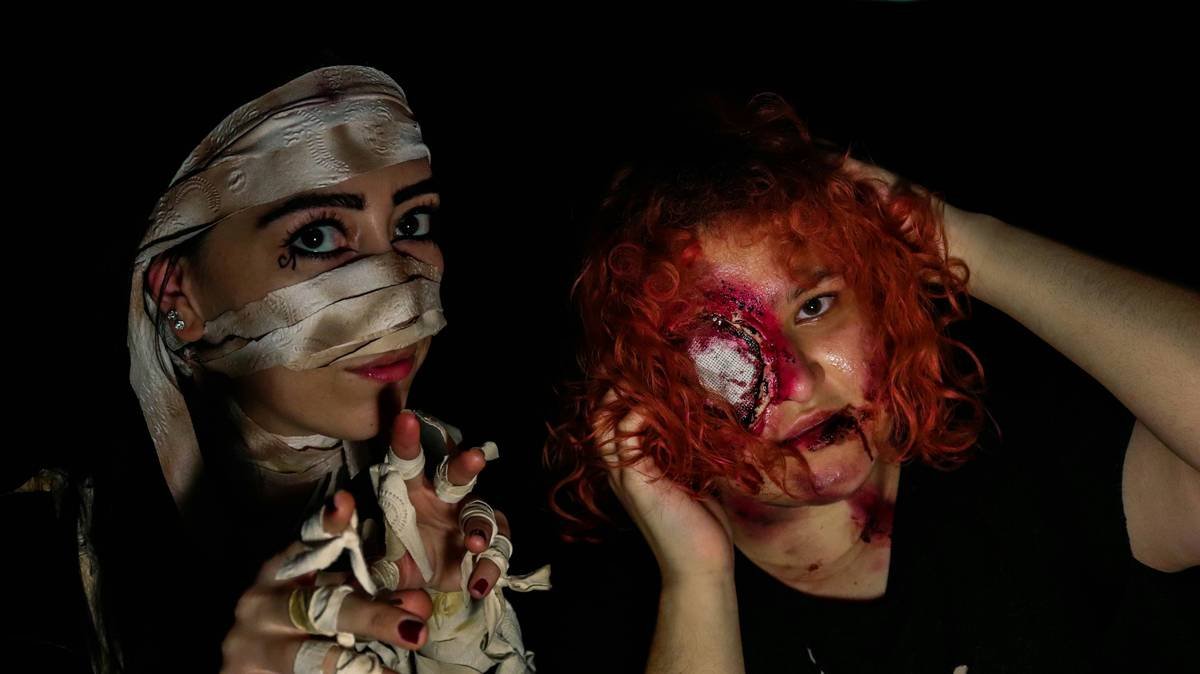
Start with a desaturated base (mix foundation with green and gray). Then stipple purples into recesses—hemoglobin breakdown shows as bruise-tones, not crimson. Save red for *fresh* tears only.
Step 3: Break the Surface Tension
Dust translucent powder over healed-looking areas. Spritz matte sealant only on oily zones. Gloss belongs solely on open wounds or saliva trails.
| Method | Cost (USD) | Realism Rating (1-10) | Time Required |
|---|---|---|---|
| Latex + Paint Only | $15–$30 | 4 | 45 mins |
| Gelatin Wax Build-Up + Airbrush | $50–$90 | 8 | 2.5 hours |
| Silicone Prosthetics + Scarring | $120+ | 9.5 | 4+ hours |
Step 4: Hair Matters More Than You Think
Glue down individual strands around scalp wounds using spirit gum. Matted clumps suggest neglect; sparse regrowth implies long-term survival. It’s subtle—but critical.
The Industry Secret: Decay is Directional
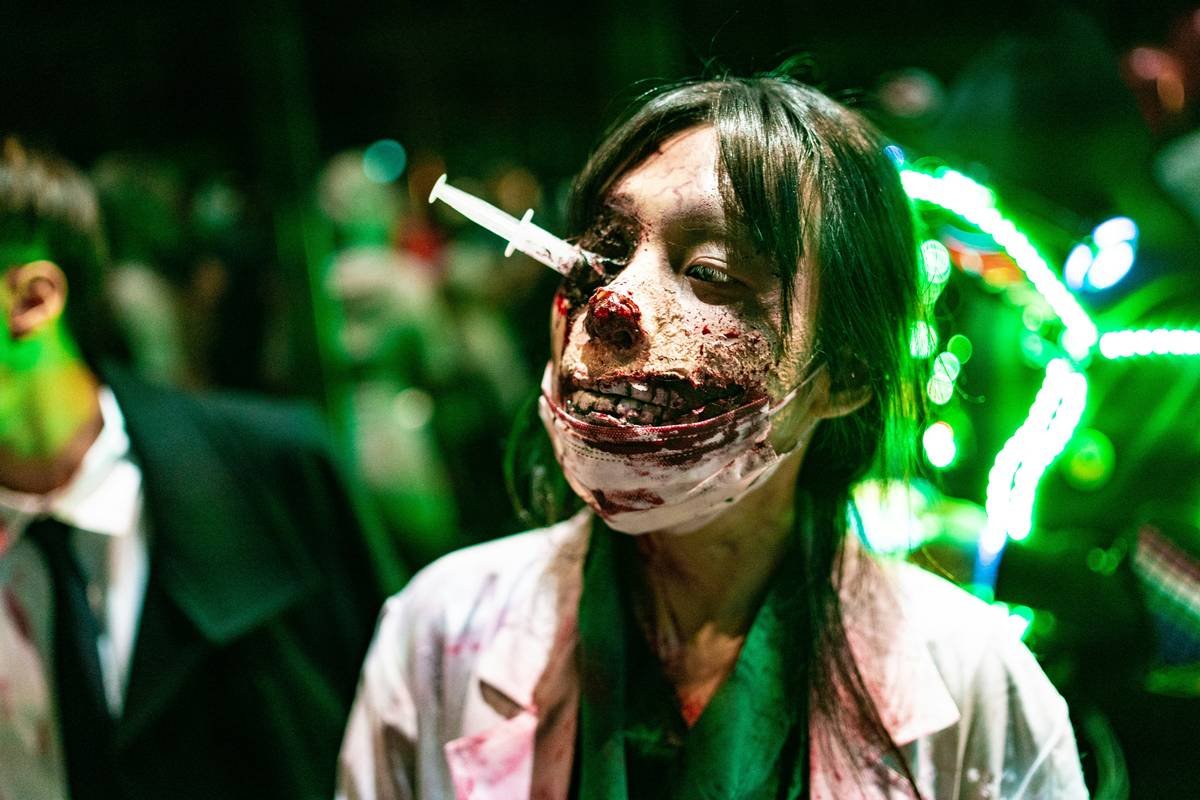
Here’s something no blog admits: rot follows gravity and friction points. Jawlines deteriorate faster than foreheads. Collarbones show bone exposure before elbows. Why? Because skin sags, clothes abrade, and fluids pool downward. Map your damage accordingly. Apply deeper necrosis along mandible lines, collarbone ridges, and knuckle joints. Skip the “random gashes” approach—it’s lazy storytelling. And if you’re working under hot lights? Bake highlights into *only* the highest bony points (zygomatic arch, brow ridge). Everything else recedes into shadow. That contrast? That’s what makes audiences flinch.
Frequently Asked Questions
How long does SFX makeup for zombies last?
With proper sealing, 6–8 hours on skin. Sweat and oil break it down faster—use alcohol-based setting sprays, not water-based.
Can I use household items for zombie makeup?
Corn syrup works for blood, but avoid Vaseline—it melts latex. For texture, toilet paper soaked in glue creates decent shallow scarring in a pinch.
What’s the best fake blood for SFX?
Stage blood thickened with xanthan gum. It clings without dripping. Add cocoa powder for dried, crusty edges.